PHPMyAdminのページ
phpMyAdmin (ピーエイチピー・マイ・アドミン)
phpMyAdminは、PHPが稼動する環境下にインストールすることで、ブラウザー上でMySQLを管理することができるツールです。phpMyAdmi Projectによって管理・開発・配布されています。
長い間、MySQLの管理ツールのデファクトスタンダードとして利用されてきました。
とてもわかりやすいインターフェイスでできているため、マニュアルなしでも十分に利用することができます。
ダウンロード
2007/3現在、2.10系がダウンロードページより配布されています。以下は、
| ソフトウェア | バージョン |
| apache | 2.0.55 |
| MySQL | 5.0.19 |
| PHP | 5.2.1 |
| OS | Windows XP Pro |
の条件下にphpMyAdmin-2.10.0.2をインストールした際のメモです。
インストール
ダウンロードと解凍
上のダウンロードサイトから、phpMyAdmin-2.10.0.2-all-languages.zipをダウンロードしして、適当な場所に解凍します。
私のPCでは
C:\phpMyAdmin-2.10.0.2-all-languagesに解凍しました。
config.inc.phpの編集
次にこのフォルダー下にある
config.sample.inc.phpをコピーして、
config.inc.phpを作成します。
この中を自分の環境に合わせて変更します。以下に私のPCのconfig.inc.phpは以下のようにしました。
<?php
/* $Id: config.sample.inc.php 9689 2006-11-10 20:05:49Z nijel $ */
// vim: expandtab sw=4 ts=4 sts=4:
/**
* phpMyAdmin sample configuration, you can use it as base for
* manual configuration. For easier setup you can use scripts/setup.php
*
* All directives are explained in Documentation.html and on phpMyAdmin
* wiki <http://wiki.cihar.com>.
*/
/*
* This is needed for cookie based authentication to encrypt password in
* cookie
*/
$cfg['blowfish_secret'] = 'secret'; /* YOU MUST FILL IN THIS FOR COOKIE AUTH! */
/*
* Servers configuration
*/
$i = 0;
/*
* First server
*/
$i++;
/* Authentication type */
$cfg['Servers'][$i]['auth_type'] = 'cookie';
/* Server parameters */
$cfg['Servers'][$i]['host'] = 'localhost';
$cfg['Servers'][$i]['port'] = '3308';
$cfg['Servers'][$i]['connect_type'] = 'tcp';
$cfg['Servers'][$i]['compress'] = false;
/* Select mysqli if your server has it */
$cfg['Servers'][$i]['extension'] = 'mysql';
/* User for advanced features */
$cfg['Servers'][$i]['controluser'] = 'root';
$cfg['Servers'][$i]['controlpass'] = 'root';
/* Advanced phpMyAdmin features */
// $cfg['Servers'][$i]['pmadb'] = 'phpmyadmin';
// $cfg['Servers'][$i]['bookmarktable'] = 'pma_bookmark';
// $cfg['Servers'][$i]['relation'] = 'pma_relation';
// $cfg['Servers'][$i]['table_info'] = 'pma_table_info';
// $cfg['Servers'][$i]['table_coords'] = 'pma_table_coords';
// $cfg['Servers'][$i]['pdf_pages'] = 'pma_pdf_pages';
// $cfg['Servers'][$i]['column_info'] = 'pma_column_info';
// $cfg['Servers'][$i]['history'] = 'pma_history';
// $cfg['Servers'][$i]['designer_coords'] = 'pma_designer_coords';
/*
* End of servers configuration
*/
/*
* Directories for saving/loading files from server
*/
$cfg['UploadDir'] = '';
$cfg['SaveDir'] = '';
?>
ここで変更したのは以下の点です。
| 項目 | 設定方法 |
| $cfg['blowfish_secret'] | blowfish暗号化のためのKey。ここでは適当にscecretと入力。 |
| $cfg['Servers'][$i]['host'] | MySQLが動いているサーバーのIPアドレス、またはホスト名。 |
| $cfg['Servers'][$i]['port'] | MySQLがListenしているポート。 |
| $cfg['Servers'][$i]['extension'] | MySQLにアクセスするための拡張ライブラリー(dll名)。 |
| $cfg['Servers'][$i]['controluser'] | phpMyAdminがMySQLにアクセスするための(MySQLの)ユーザーID。 |
| $cfg['Servers'][$i]['controlpass'] | phpMyAdminがMySQLにアクセスするための(MySQLの)ユーザーIDのパスフレーズ。 |
httpd.conf(apache)の編集
このままだと、apacheからアクセスできないので、APACHE_HOME\conf\httpd.confに以下のAliasを追加します。
Alias /phpMyAdmin2.10 "C:/phpMyAdmin-2.10.0.2-all-languages/"
<Directory "C:/phpMyAdmin-2.10.0.2-all-languages/">
</Directory>
その後、apacheを再起動します。URL
localhost/phpMyAdmin2.10
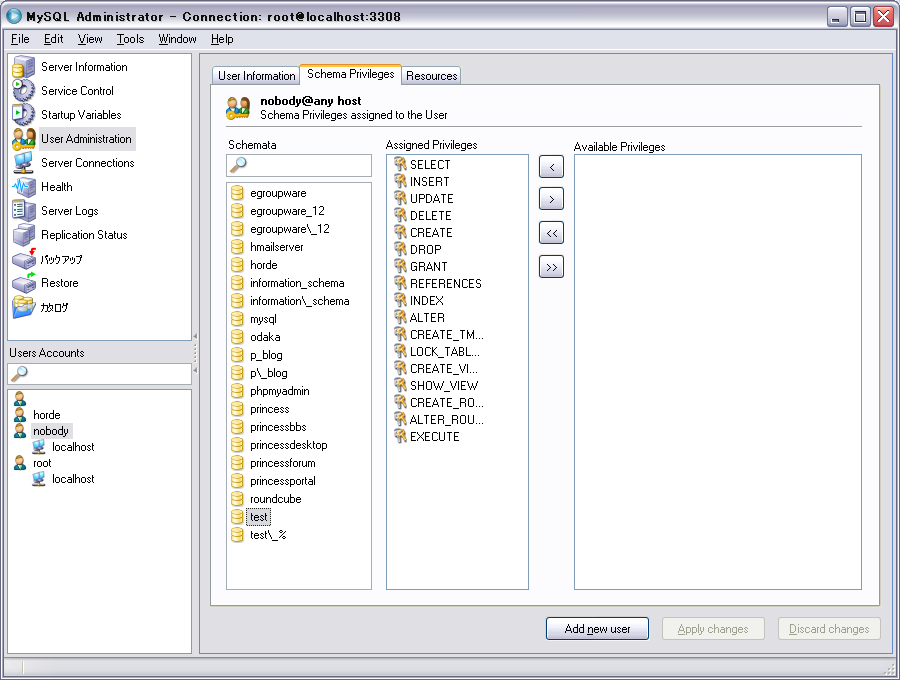
とするとログイン画面がでますので、そこで(上で設定した)ユーザーroot、パスフレーズrootと入力し、エラーなく以下の画面で出てくればインストール成功です。

2007年03月15日(木) 16:12:50 Modified by wanderingse
添付ファイル一覧(全2件)
3b00d494c6ad01aa.PNG (79.32KB)
Uploaded by wanderingse 2007年03月15日(木) 16:07:59
Uploaded by wanderingse 2007年03月15日(木) 16:07:59
e9d7f0d3a5f806c9.PNG (71.61KB)
Uploaded by wanderingse 2007年03月15日(木) 16:01:42
Uploaded by wanderingse 2007年03月15日(木) 16:01:42